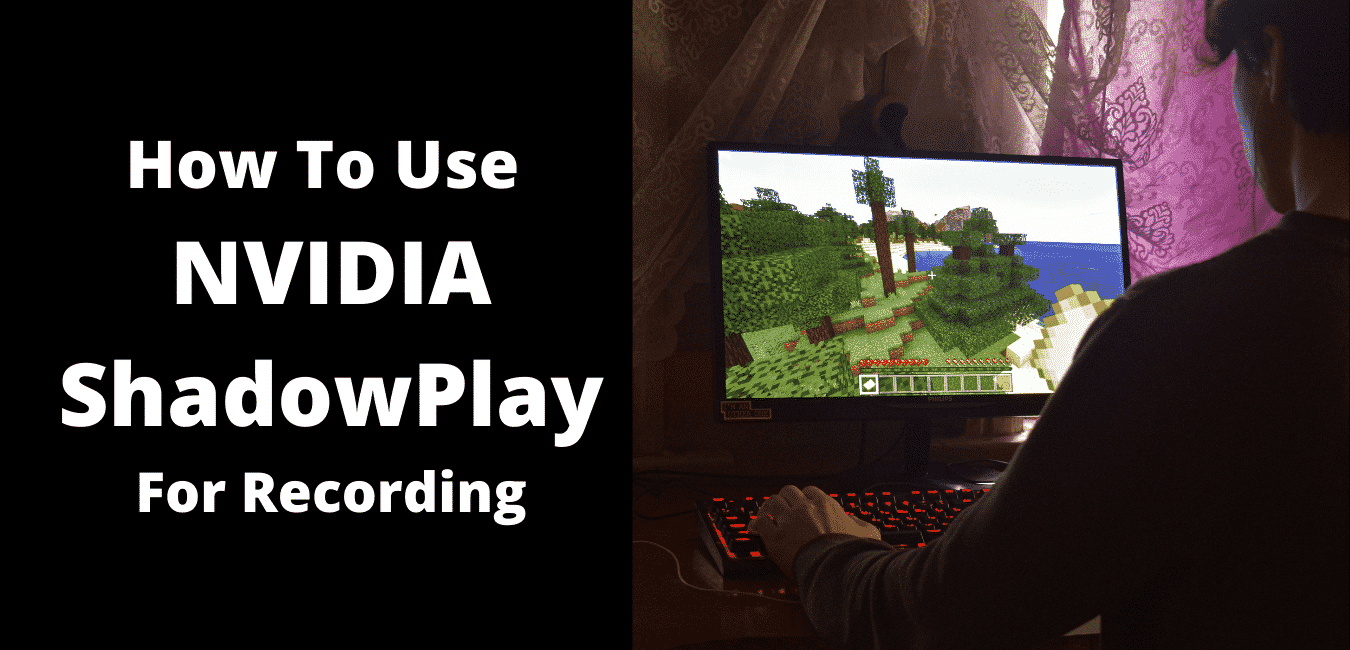
Amongst these younger generations, particularly gaming nerds and YouTubers, video game streaming or live game broadcasting is in demand these days. And software such as NVIDIA ShadowPlay is very widely used to record gameplay or broadcast a live gaming event.
ShadowPlay from NVIDIA, now recognized as NVIDIA Share, provides simple gameplay capturing, live streaming, and even an overlay of the FPS meter. In the field, it can record gameplay automatically, just on PlayStation 4 and Xbox One, or record gameplay only when you say it to. You could either record your gameplay automatically in the background or just record it with your instructions. Read the following post to learn more about this method and to go through a comprehensive guide on how to record your PC gaming with NVIDIA ShadowPlay:
What are your requirements?
You need to check that your machine fits the criteria before we move forward. So what are the Nvidia Share Specifications? Yeah, you’re going to need to get an Nvidia GTX 650 graphics card or higher, and you’re still going to have to make sure that the update of the GeForce Experience you built on your PC is up to date. In addition, you will find that the GeForce Experience has been mounted on your computer whether you already have a GSAS or a VAST PC. Otherwise, for smooth performance, you can download it from Nvidia’s website, including all the drivers you’re going to need. Here are instructions in steps to let you know how to use ShadowPlay.
- Step 1
First of all, open the game you would like to play and record and then minimize it. After that, to open it on your PC, click on either the GeForce Experience window button. Locate the sharing mechanism through the path below, Settings > General > Share.
- Step 2
It is important to verify the audio configurations prior to beginning the recording process. Click on the Microphone button to do this and pick the Customize alternative. The setting here will be shown as ON by default whenever the microphone is attached correctly. You can choose from the “Push to talk, Always on and Off settings” options as per the specific video you want to capture.
- Step 3
Audio Recording Settings
Now since the sharing feature is available, you, therefore, need to click on the Open-In-Game-Overlay button on the upper left side of the screen, next to the Settings icon.
- Step 4
Click on the Camera icon to allow webcam recording throughout gaming.
- Step 5
For using NVIDIA shares regularly, the user can also configure the Hotkey. The overall speed of the gameplay recording process will be higher. For doing so, go to Settings and then click on the option Keyboard shortcuts. Here you can set any of the Keys as Hotkey, which you can conveniently use during your gameplay process.
- Step 6
You may also activate the Instant replay feature to catch particular points from your playthrough. Click on the Instant Replay button to use it, and then click the Configure button. After that, you really should change the settings to meet the conditions of your gameplay live performance.
- Step 7
Go to NVIDIA GeForce Experience > Preferences > ShadowPlay to record OpenGL games that do not function with NVIDIA ShadowPlay and enable the Allow Desktop Capture feature. Your Windows desktop, plus any OpenGL games running in a browser on your desktop, will now be able to capture ShadowPlay.
- Step 8
Only press the icons only at the bottom of the ShadowPlay window to adjust ShadowPlay’s settings. You can choose “Shadow” mode to be using the last five-minute recording process only or “Manual” to manually record gameplay only. To use NVIDIA ShadowPlay to live stream your gameplay to Twitch instead of saving everything to your hard drive, you could also pick the “Twitch” option here.
The choice “Shadow time” involves picking how much ShadowPlay gameplay stores in its buffer. You can pick between 1 and 20 minutes at any time. Please remember that more hard disk capacity is required for a longer-term. Just how much disk space would depend on the amount of quality you select.
The choice “Quality” helps you to customize your recording quality. It is set to Maximum by default and captures the video at the in-game resolution, at 60 frames per second, at 50 Mbps, and as H.264 video. You may choose Low and Medium Profiles or choose Customized and manually adjust individual settings.
You can select which audio tracks should be included with your captured video using the “Audio” option. The recording would contain all in-game audio by default. You can either choose “In-game and microphone” or select “Off to disable all audio capture, enabling you to talk to the microphone and then have it incorporated into the recording.
Nvidia Share is an awesome program that will permit you to record the gameplay of your favorite games, but it really only operates for the Nvidia graphics card, and you may need to review which games this software supports since it might happen that Nvidia Share does not allow you to record those games’ gameplay. In addition, your machine will slow down when using this program, which is why you must ensure that you also have the devices that will allow us to make seamless gameplay videos. We hope now you must know how to use ShadowPlay for your game recording.
Also Read : Best Instagram Bio Ideas
Tip- You will automatically detect the snippets of your video games with Nvidia Share, which you can then navigate by pressing the newly added Highlights tab. In most instances, when you start a recording session, the program will show a message asking you if you want to catch the highlights of a video game. You can trigger this function if the message doesn’t appear by keeping CTRL+Z and then pressing the Settings menu and choosing the Highlights option.